
Upload and organize files
Learn how to upload images, videos, and documents to your media library and keep them sorted in folders.
The media library is where you store all your images, videos, and documents. Keeping these files in one place makes it easy to find and reuse them across your marketing materials.
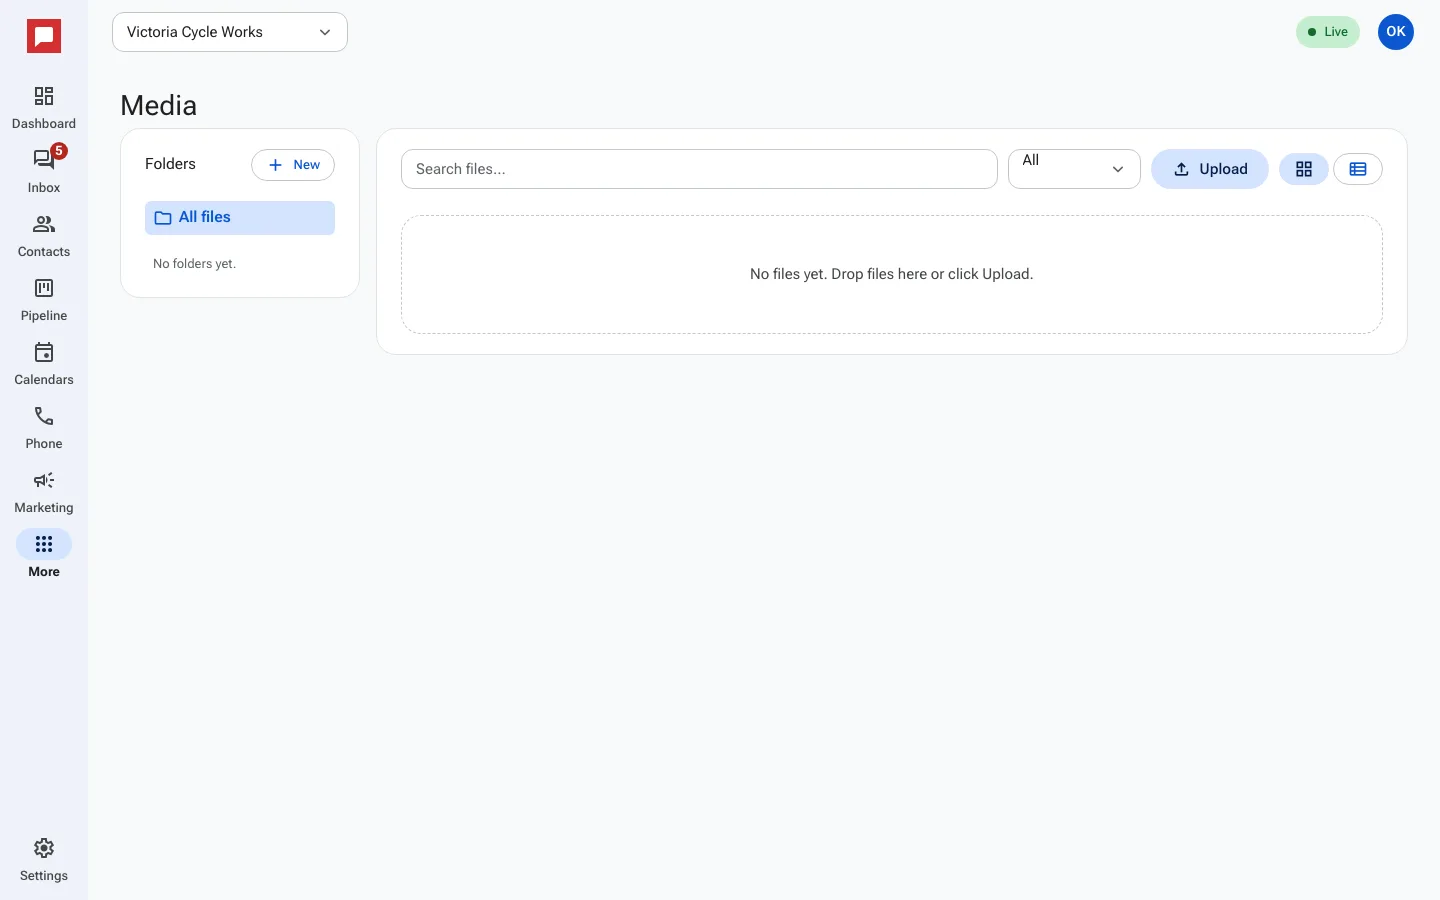
Steps
- Click the More icon on the left rail to open the menu.
- Select Media from the list of tools.
- Click New and choose New folder to create a category for your files.
- Type a name for the folder and click Save.
- Click Upload to add files from your computer.
- You can also drag and drop files directly into the main area.
- Use the Search files... box to find a specific item by name.
- Click the Grid view or List view button to change how files appear.
- Select a file to see its details, such as size and dimensions.
- Click Rename to change the file name.
- Click Move to folder... to place the file in a different folder.
- Click Delete to remove a file you no longer need.
Good to know
- Images, documents and audio can be up to 25 MB each. Videos can be up to 500 MB.
- Executables and scripts are blocked for security reasons.
- You need a role with media access to upload, move or delete files.