
Connect your channels
Link email, text, social, and chat so all messages land in one inbox.
Connect your communication channels so every message lands in one place. This keeps your team from missing any customer contact.
Steps
- Click Settings at the bottom of the left icon rail.
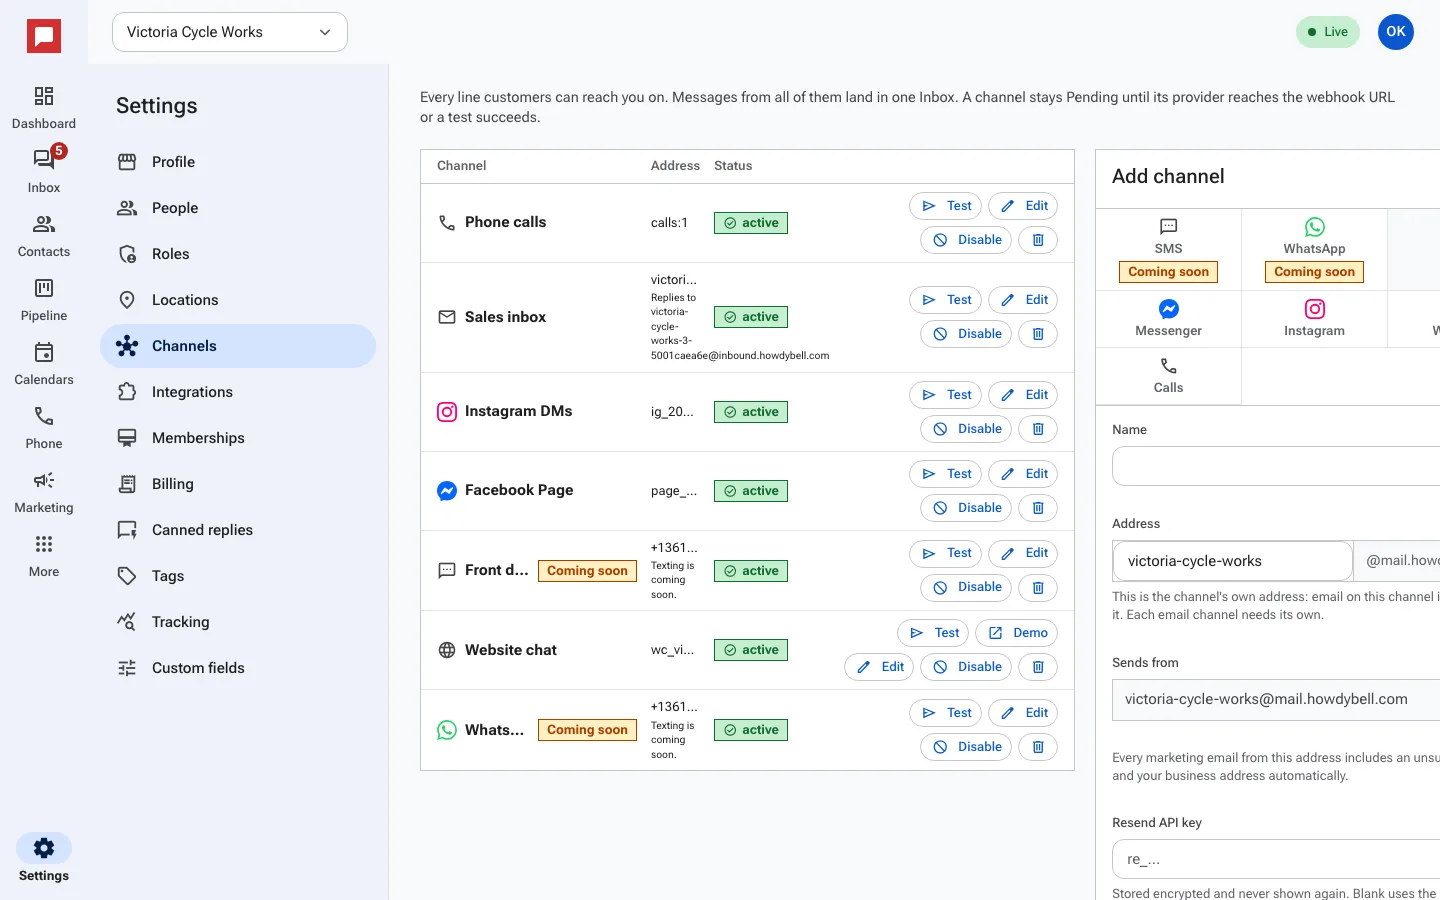
- Click Channels. The table lists every line customers can reach you on, with its Address and Status.
- In the panel on the right, pick the kind of channel to add, for example email, Messenger, Instagram or calls.
- Give it a Name and fill in the details the form asks for. For email you get a HowdyBell reply address under Customers reply to.
- Save the channel. A channel shows as pending until its provider confirms it, then it turns active.
- To add the website chat bubble, follow Add the chat widget to your website.
Once a channel is active, every message on it lands in your Inbox.
Good to know
- All connected channels feed into the same Inbox.
- The chat widget works on any website you control.
- Use Disable to pause a channel and Delete channel to remove it.
- Channels marked Coming soon are not available yet.